Summary
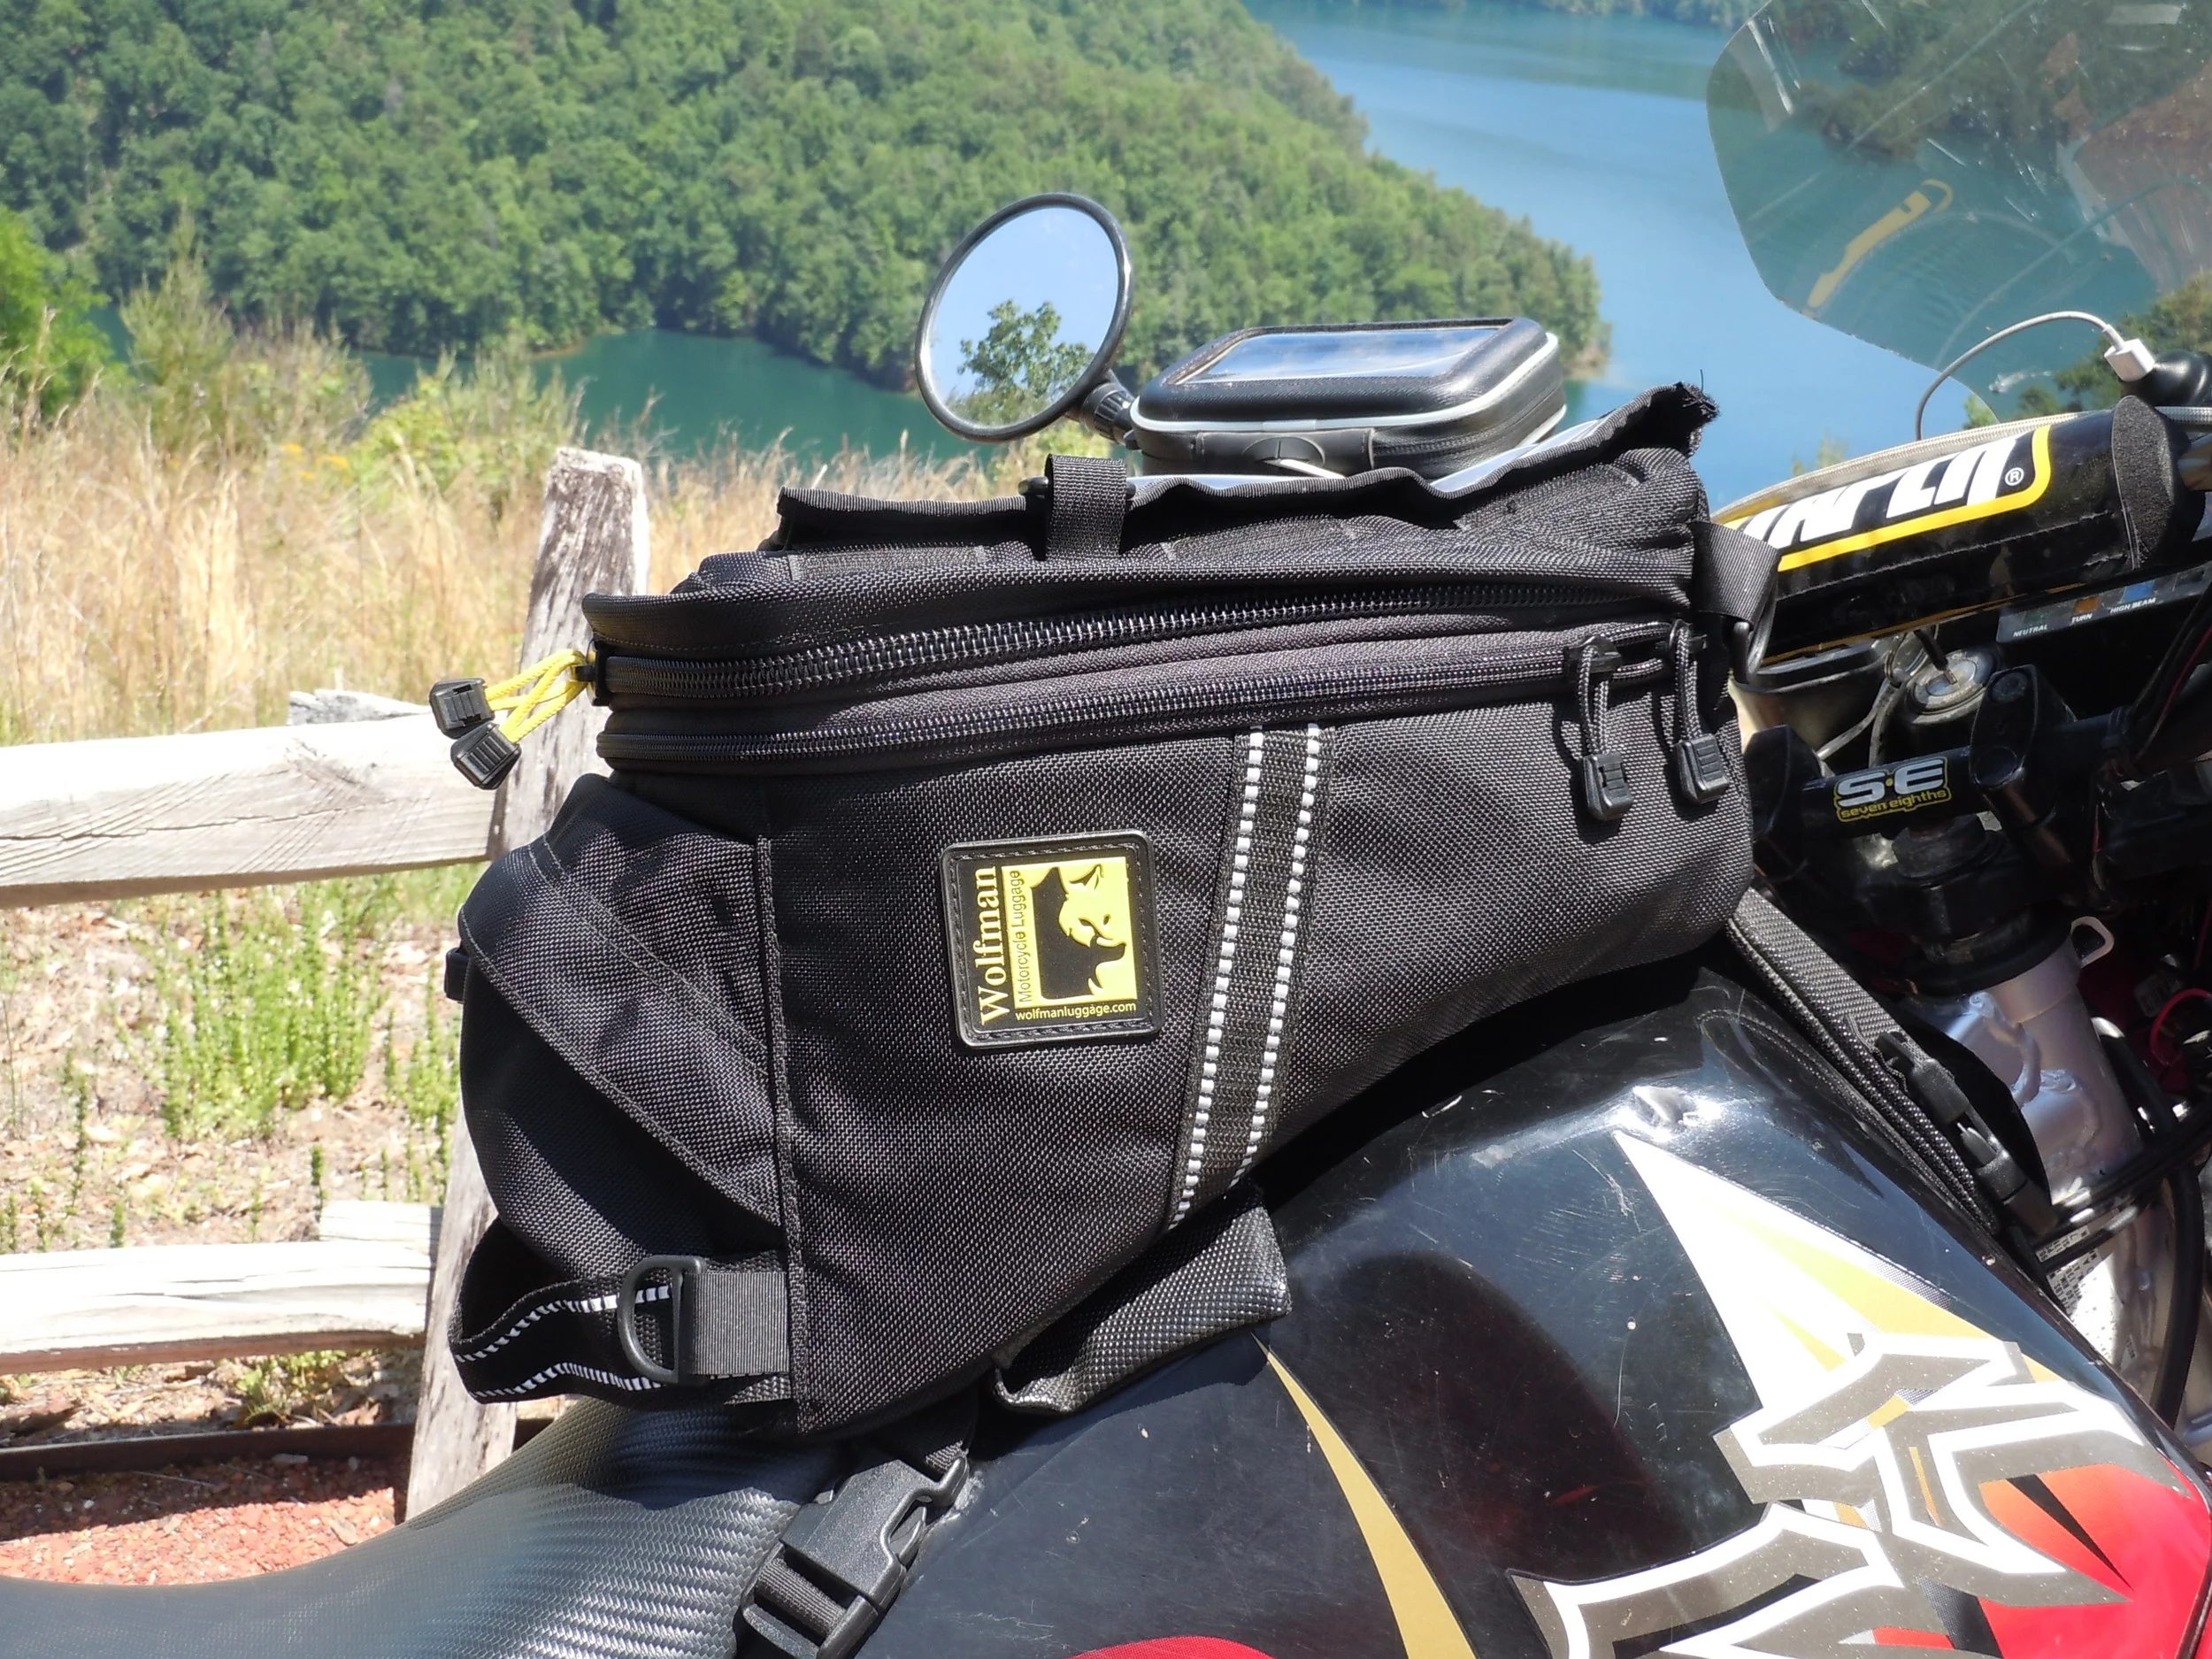
The Wolfman Explorer Lite tank bag is a product that is big on capacity and quality. It was easy to install with a nice strap system and the Wolfman bag has worked out well on my Kawasaki KLR650.
Intro
Wolfman was founded in 1992 in Colorado and they proudly offer products that are made in the USA. Wolfman has created a loyal following by producing high quality motorcycle luggage and providing a high level of service to their customers.
Construction
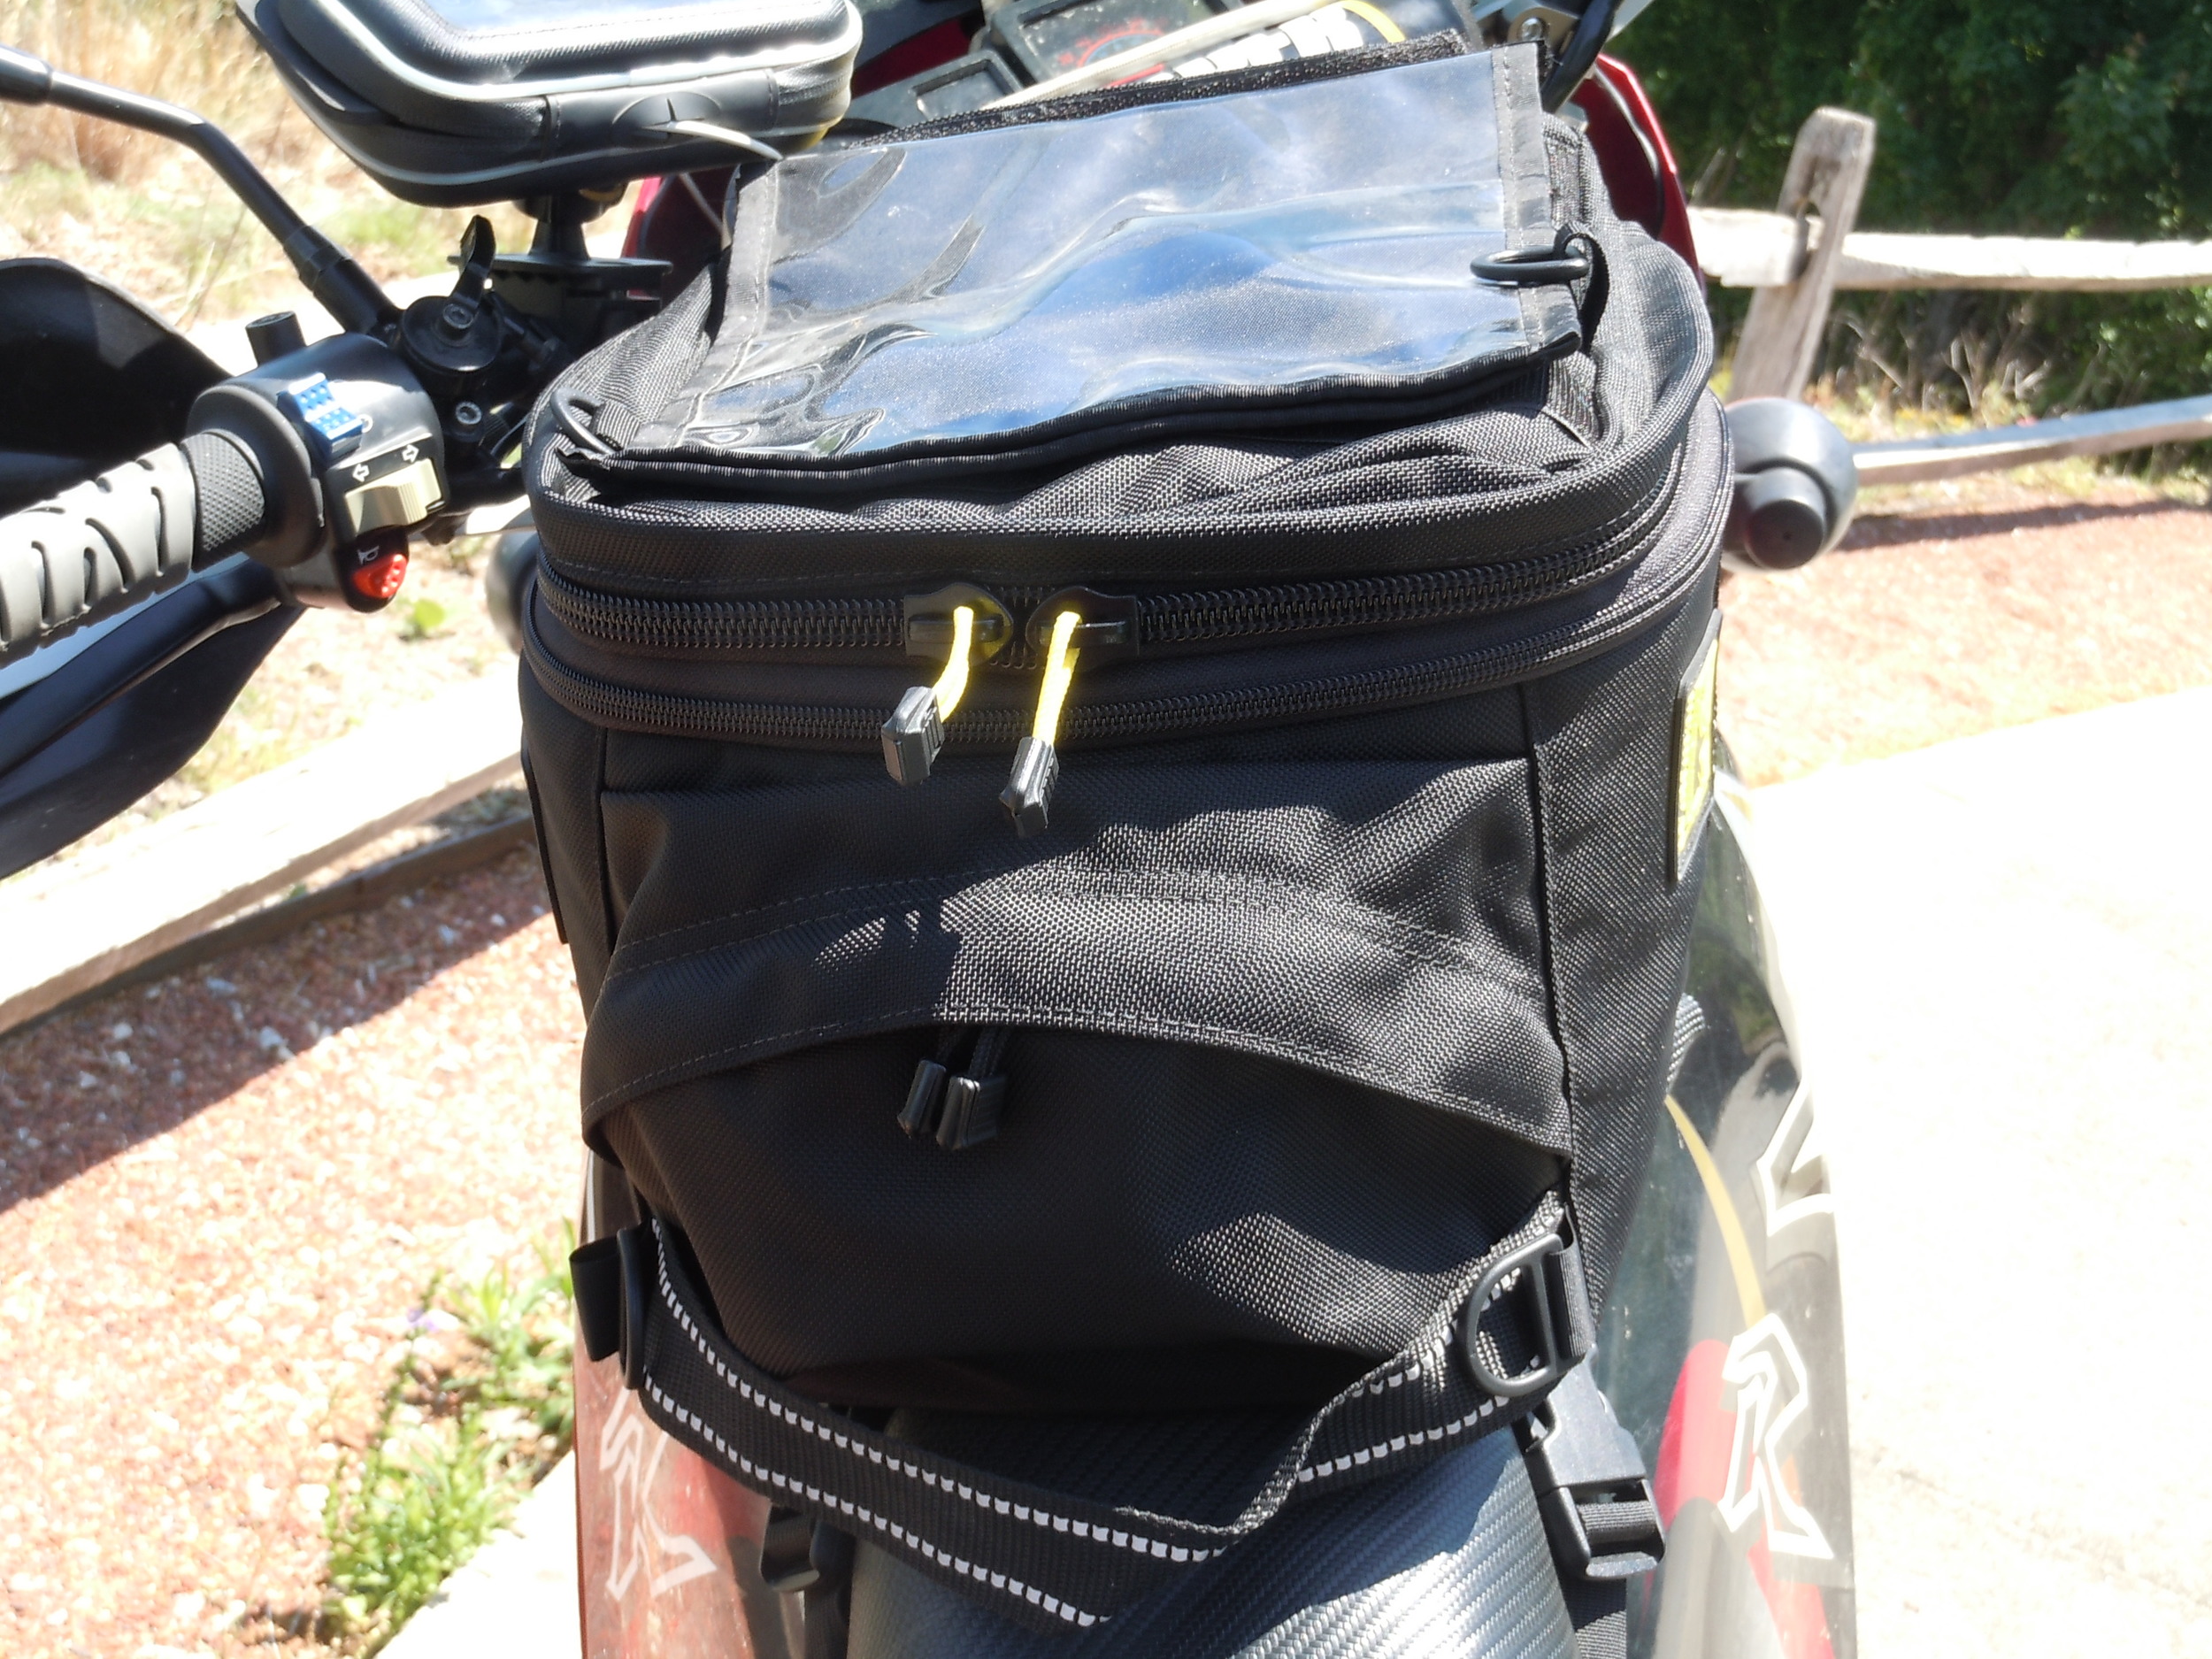
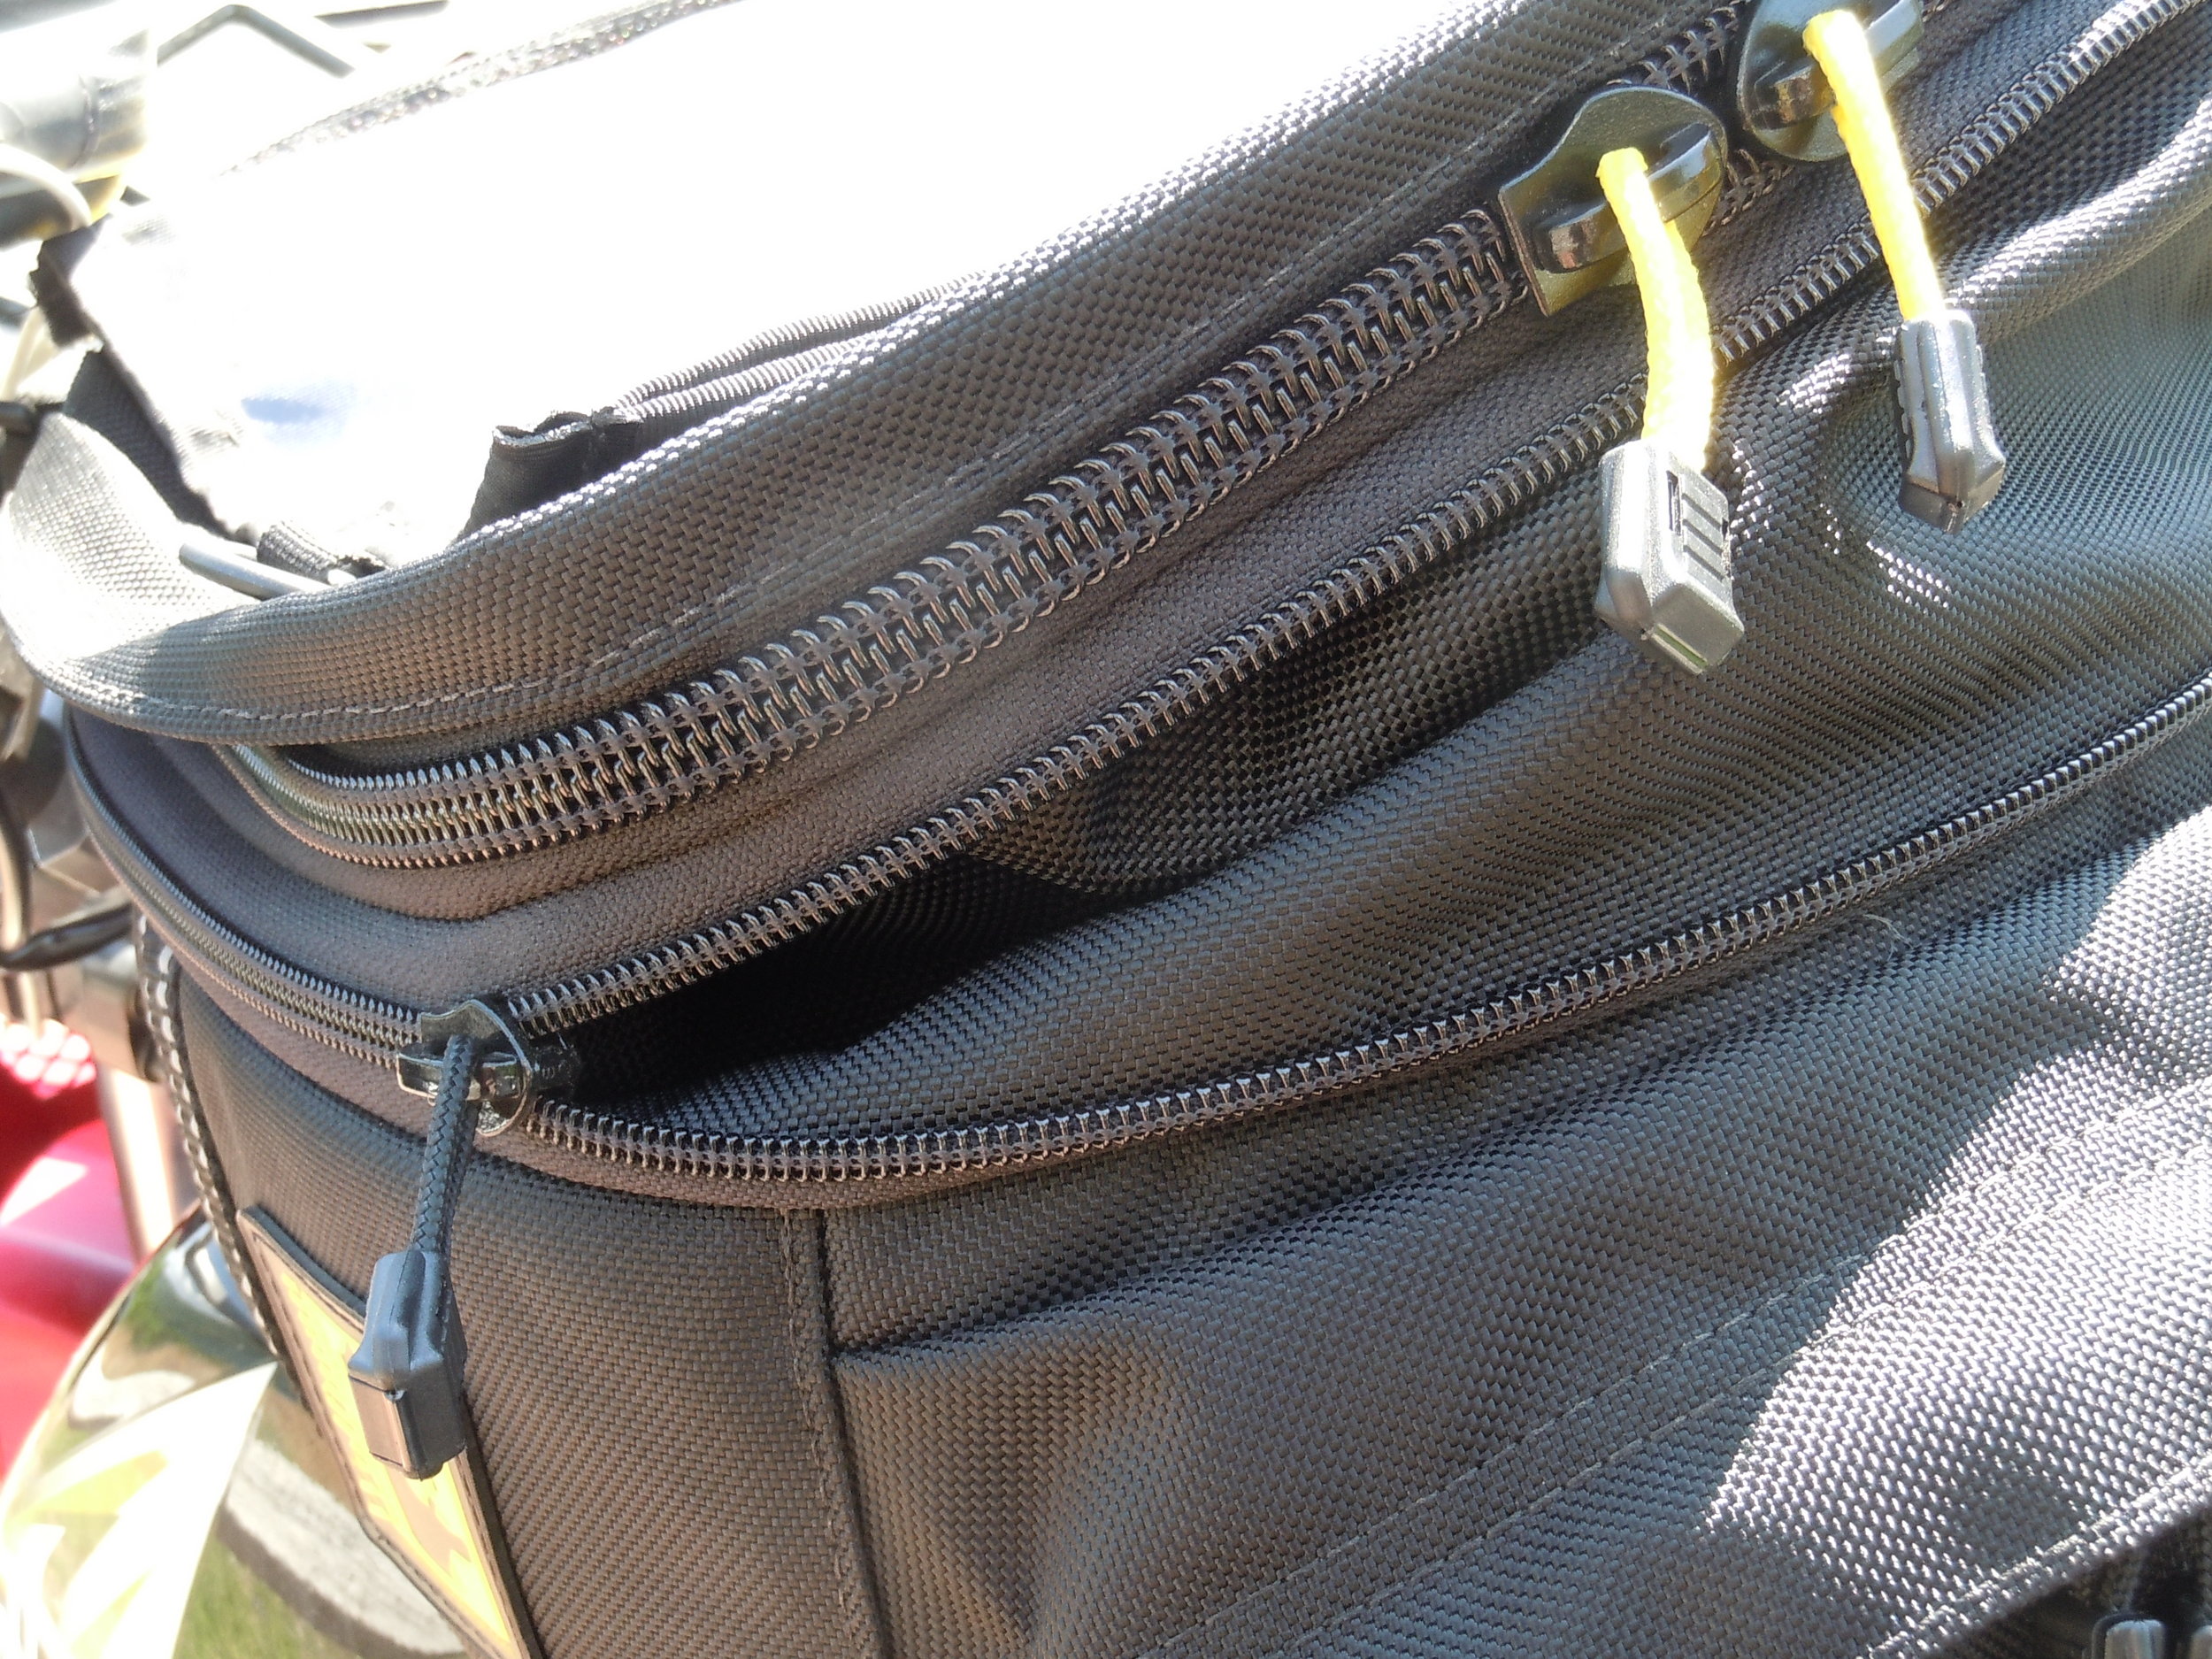
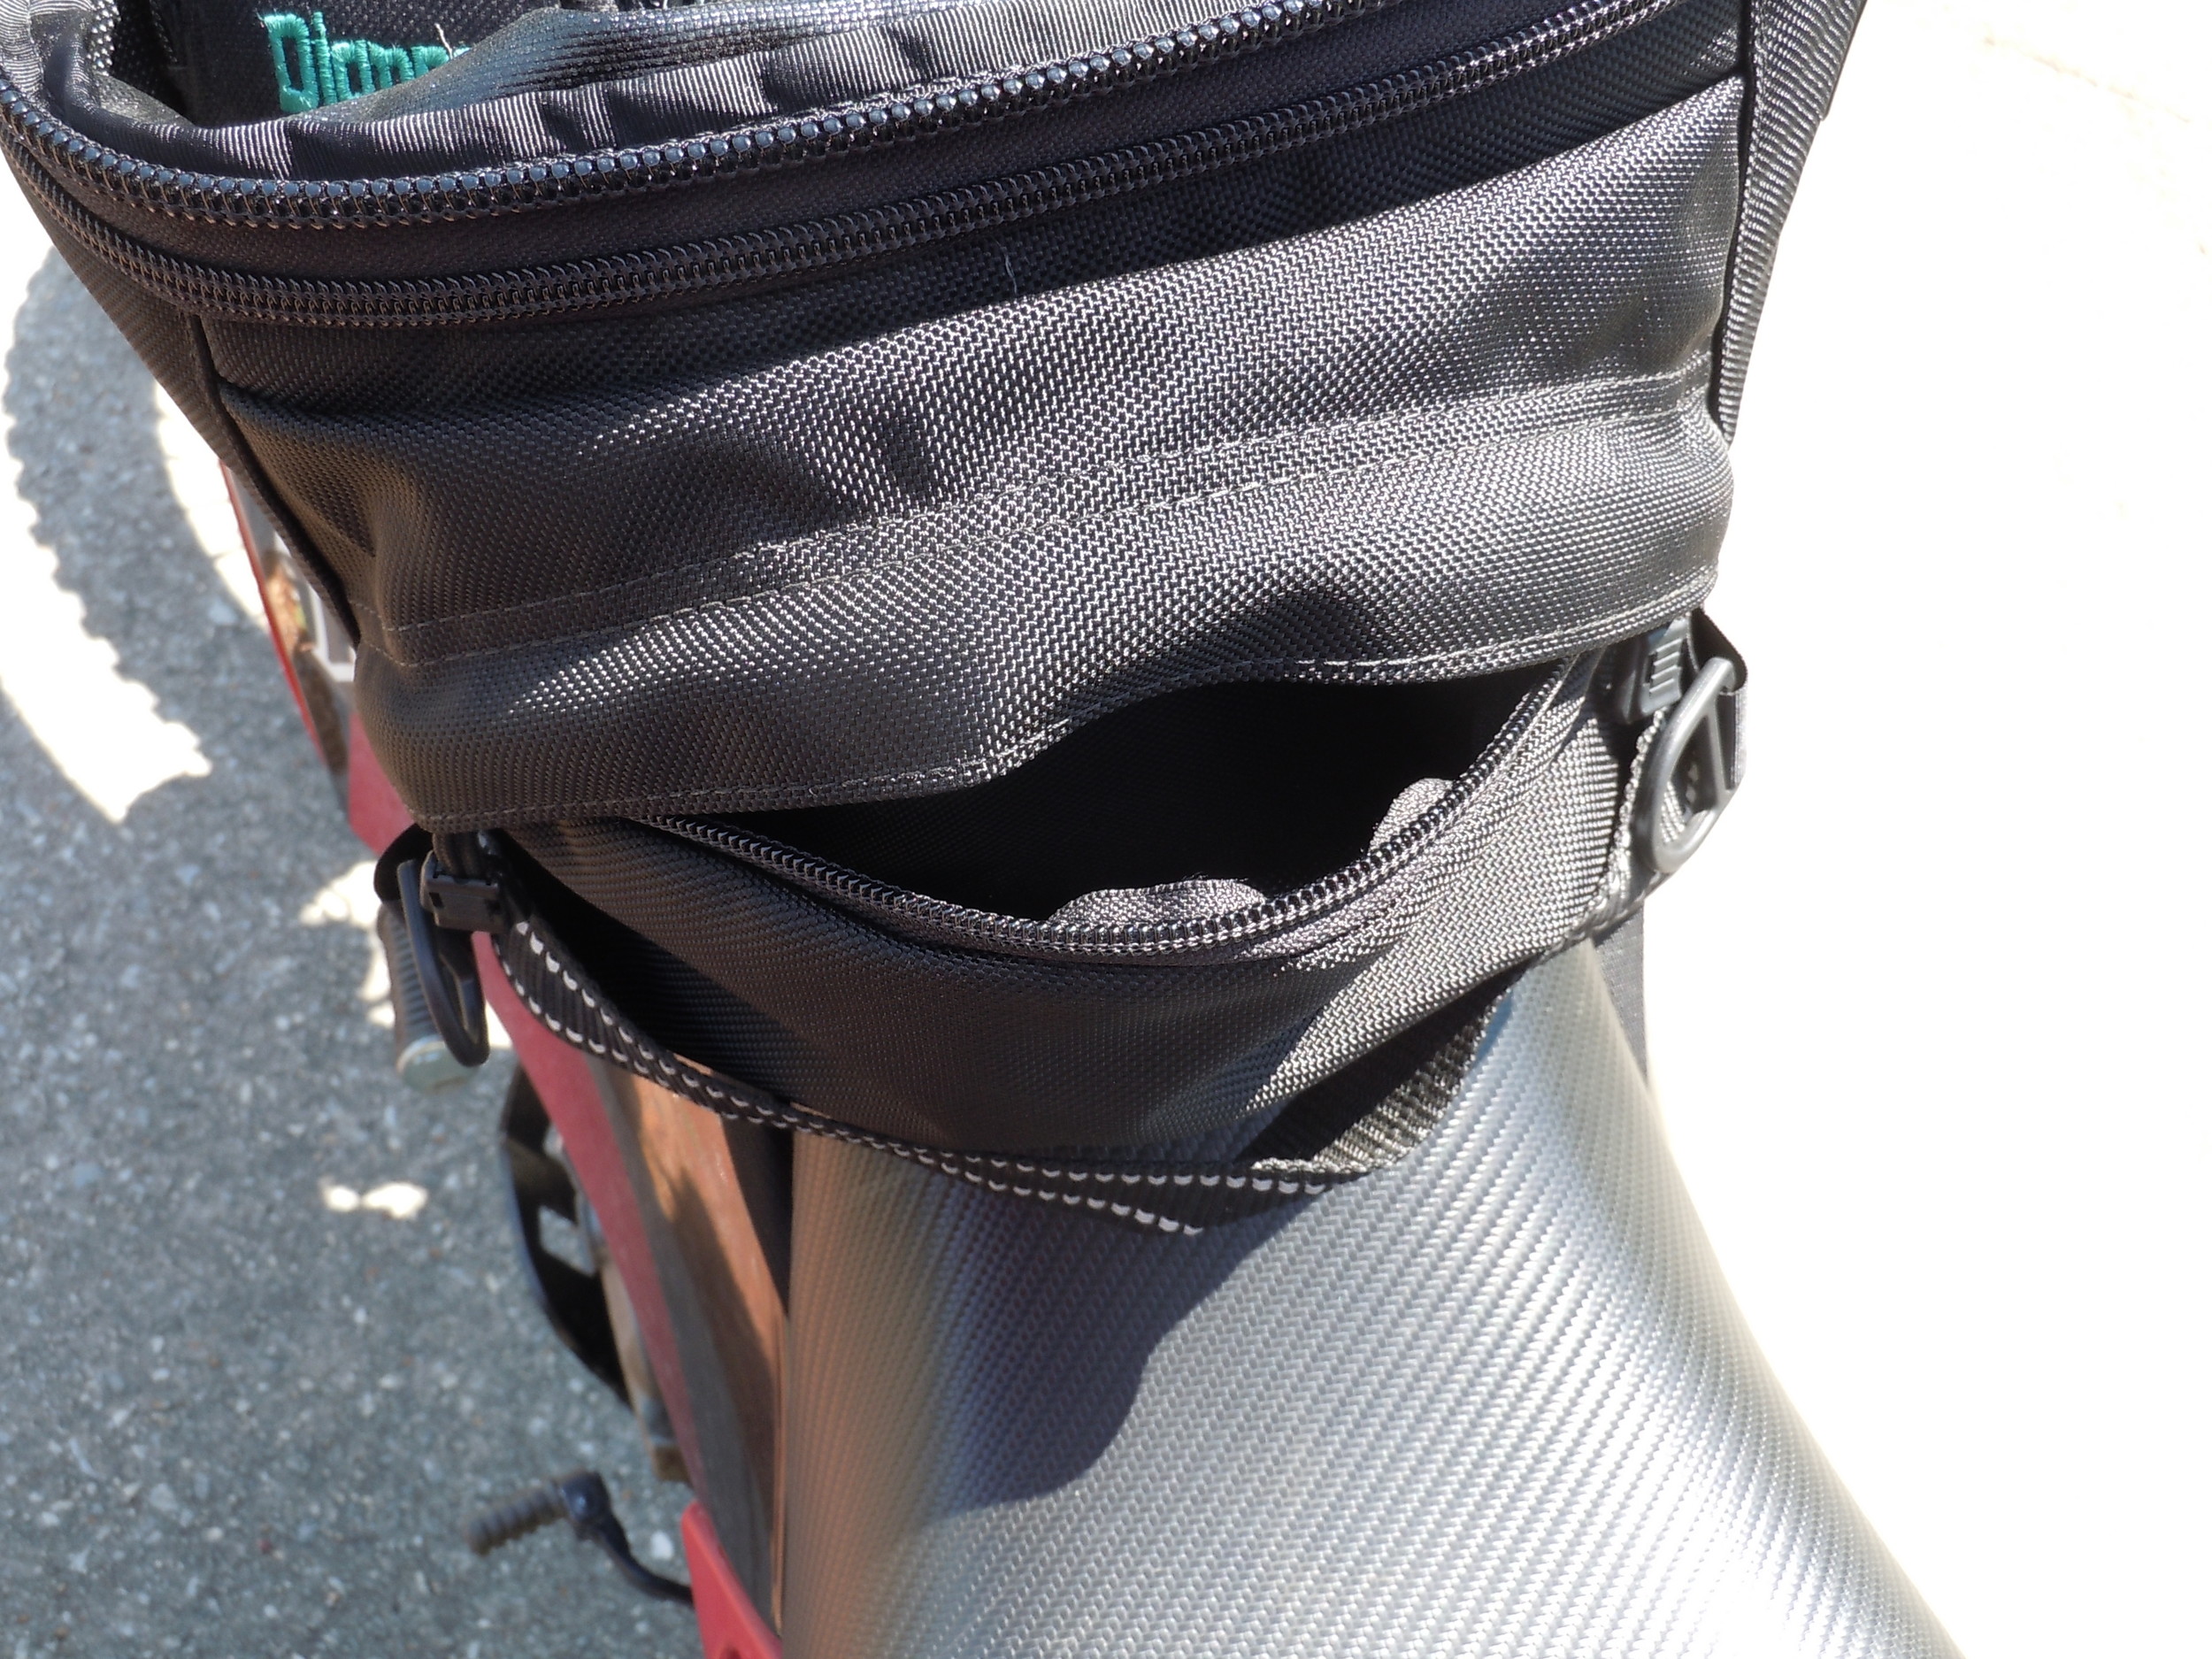
Wolfman considers the Explorer Lite tank bag a mid-sized bag. It measures in at 11” Long x 8.75” Wide. The height can vary. This bag has an expandable gusset that adds a lot of space. It is 8.25” Tall, but when you expand it, the size goes up to 11.5”. The bag has a capacity of 13 liters and expands to 16 liters. In order to differentiate the gusset zippers and the access zippers Wolfman uses yellow zipper pulls to designate the access zippers. That is a simple detail that really makes the bag easier to use.
The Explorer Lite tank bag is designed for sloped tank bikes. It is built out of ballistic nylon fabric with a liner of protective foam on the inside. It also has reflective accents on the side and the carry handle is also trimmed in reflective webbing.
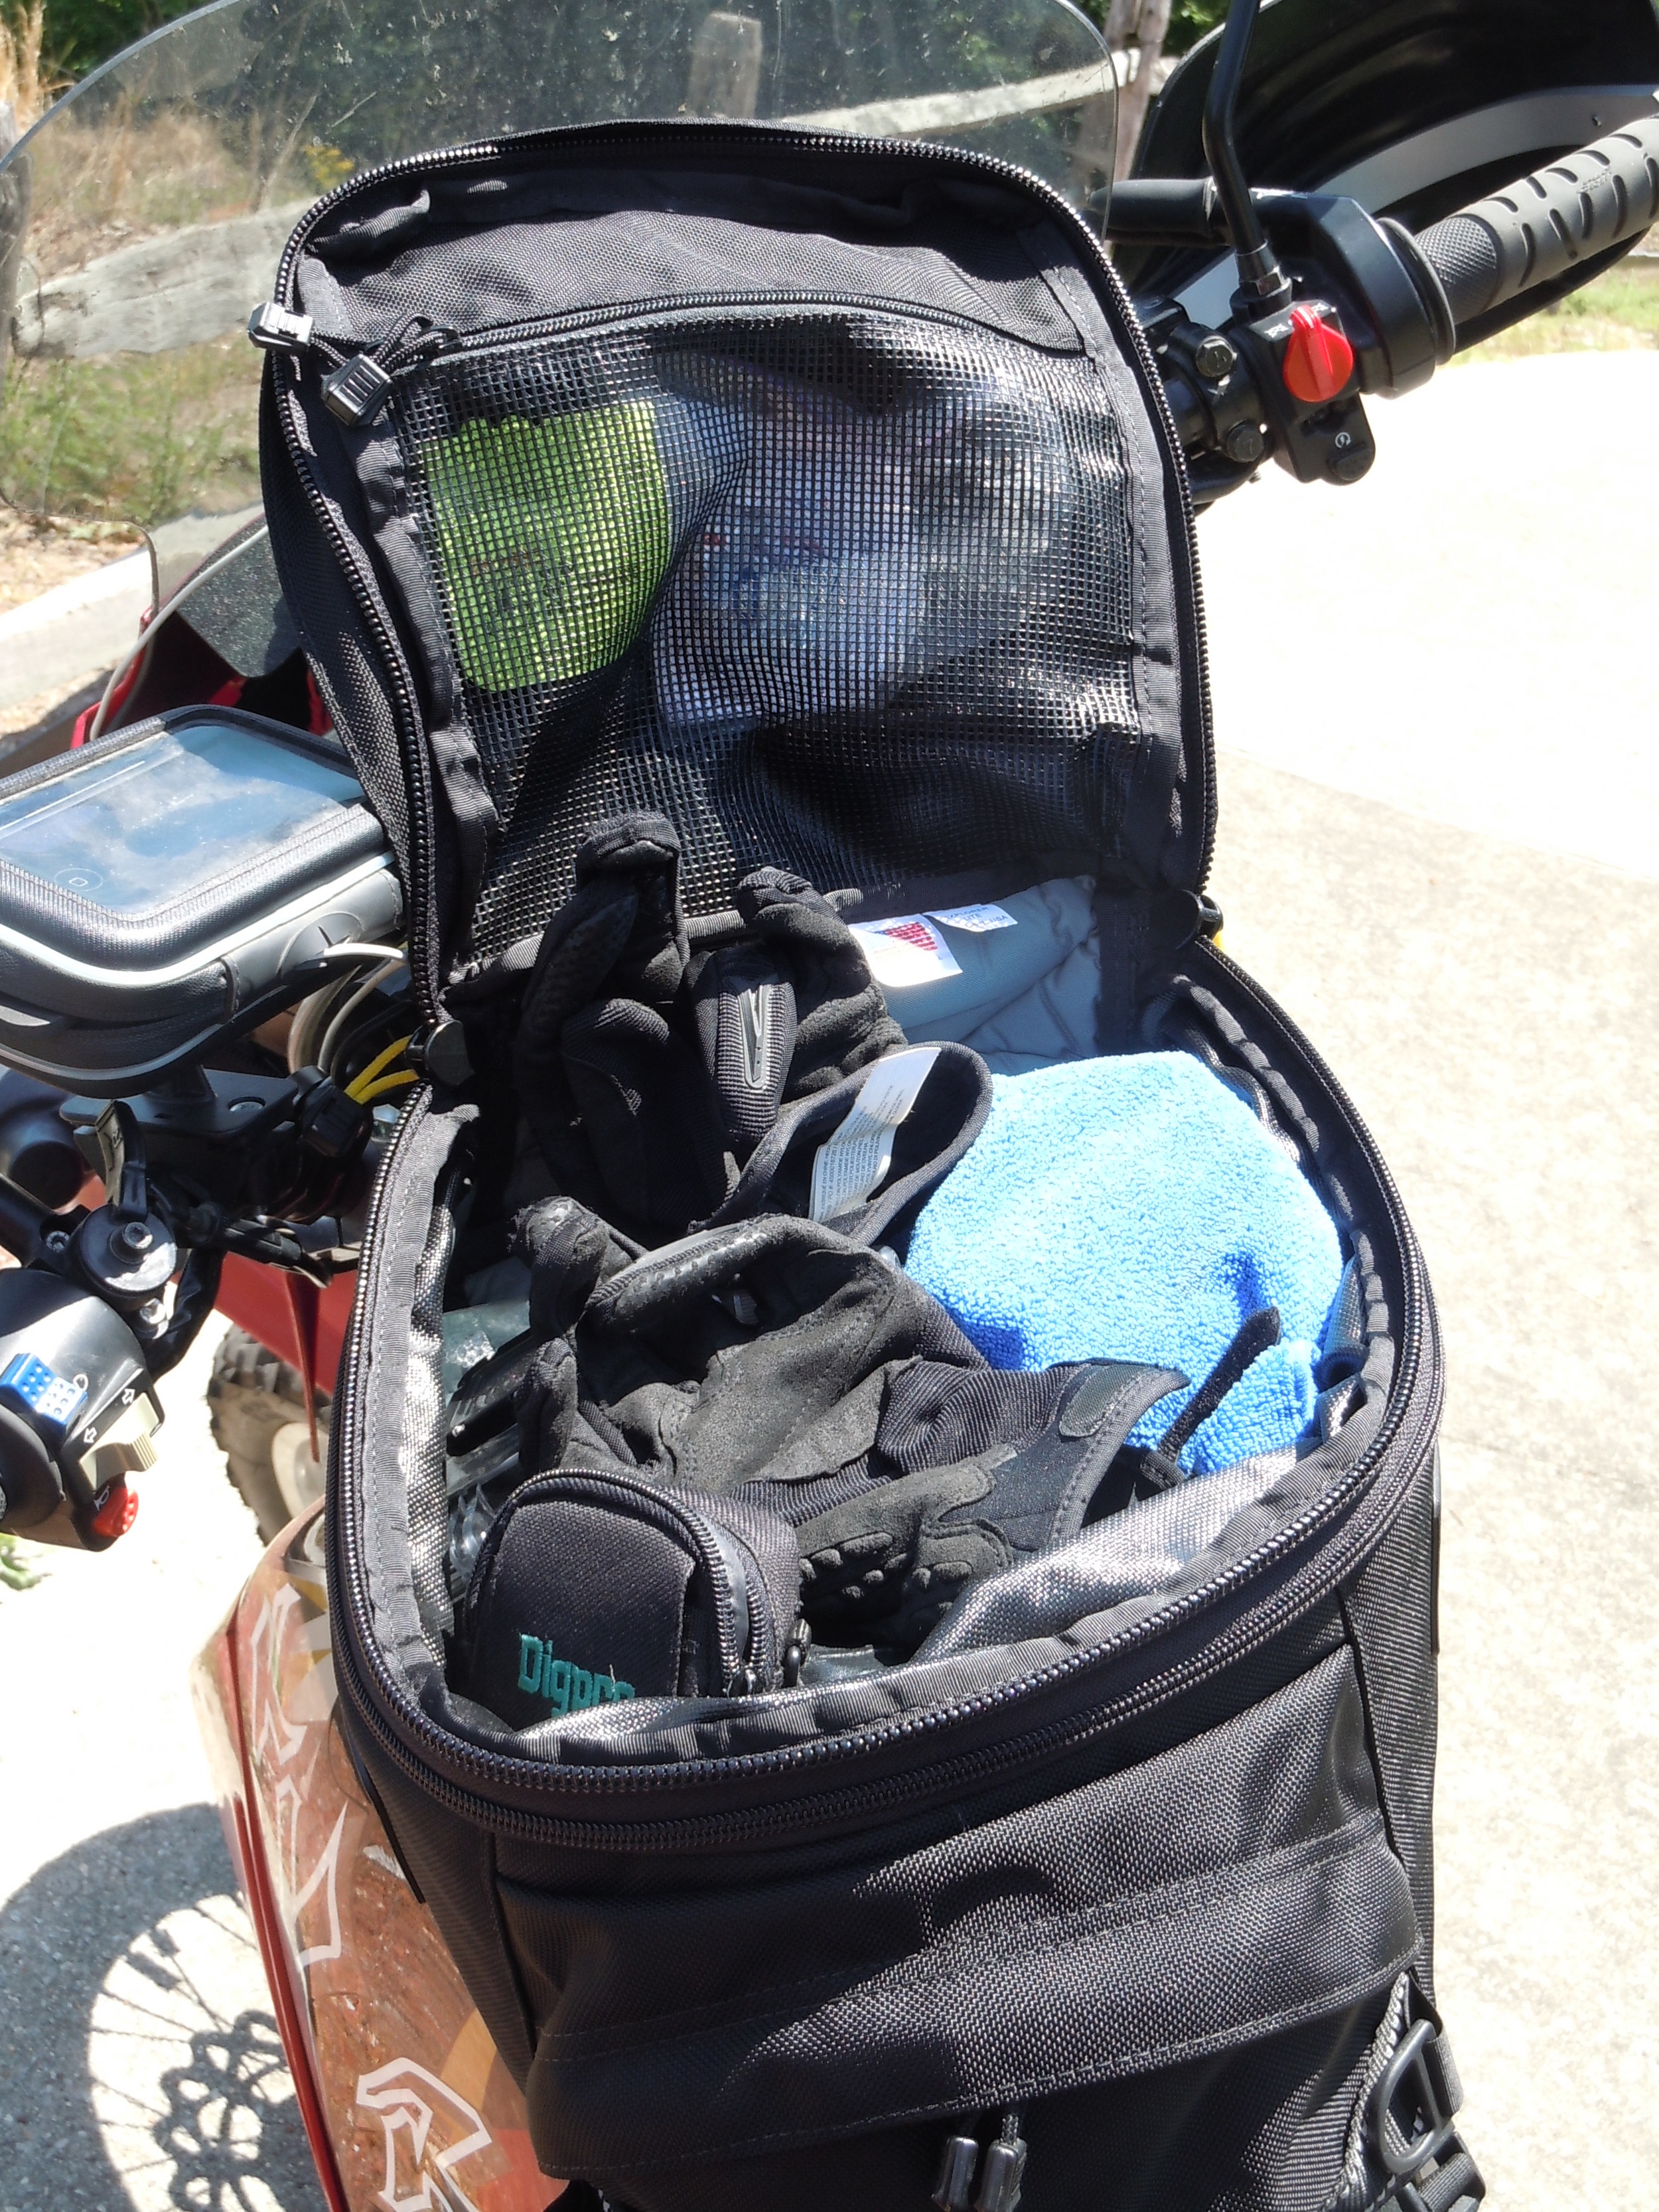
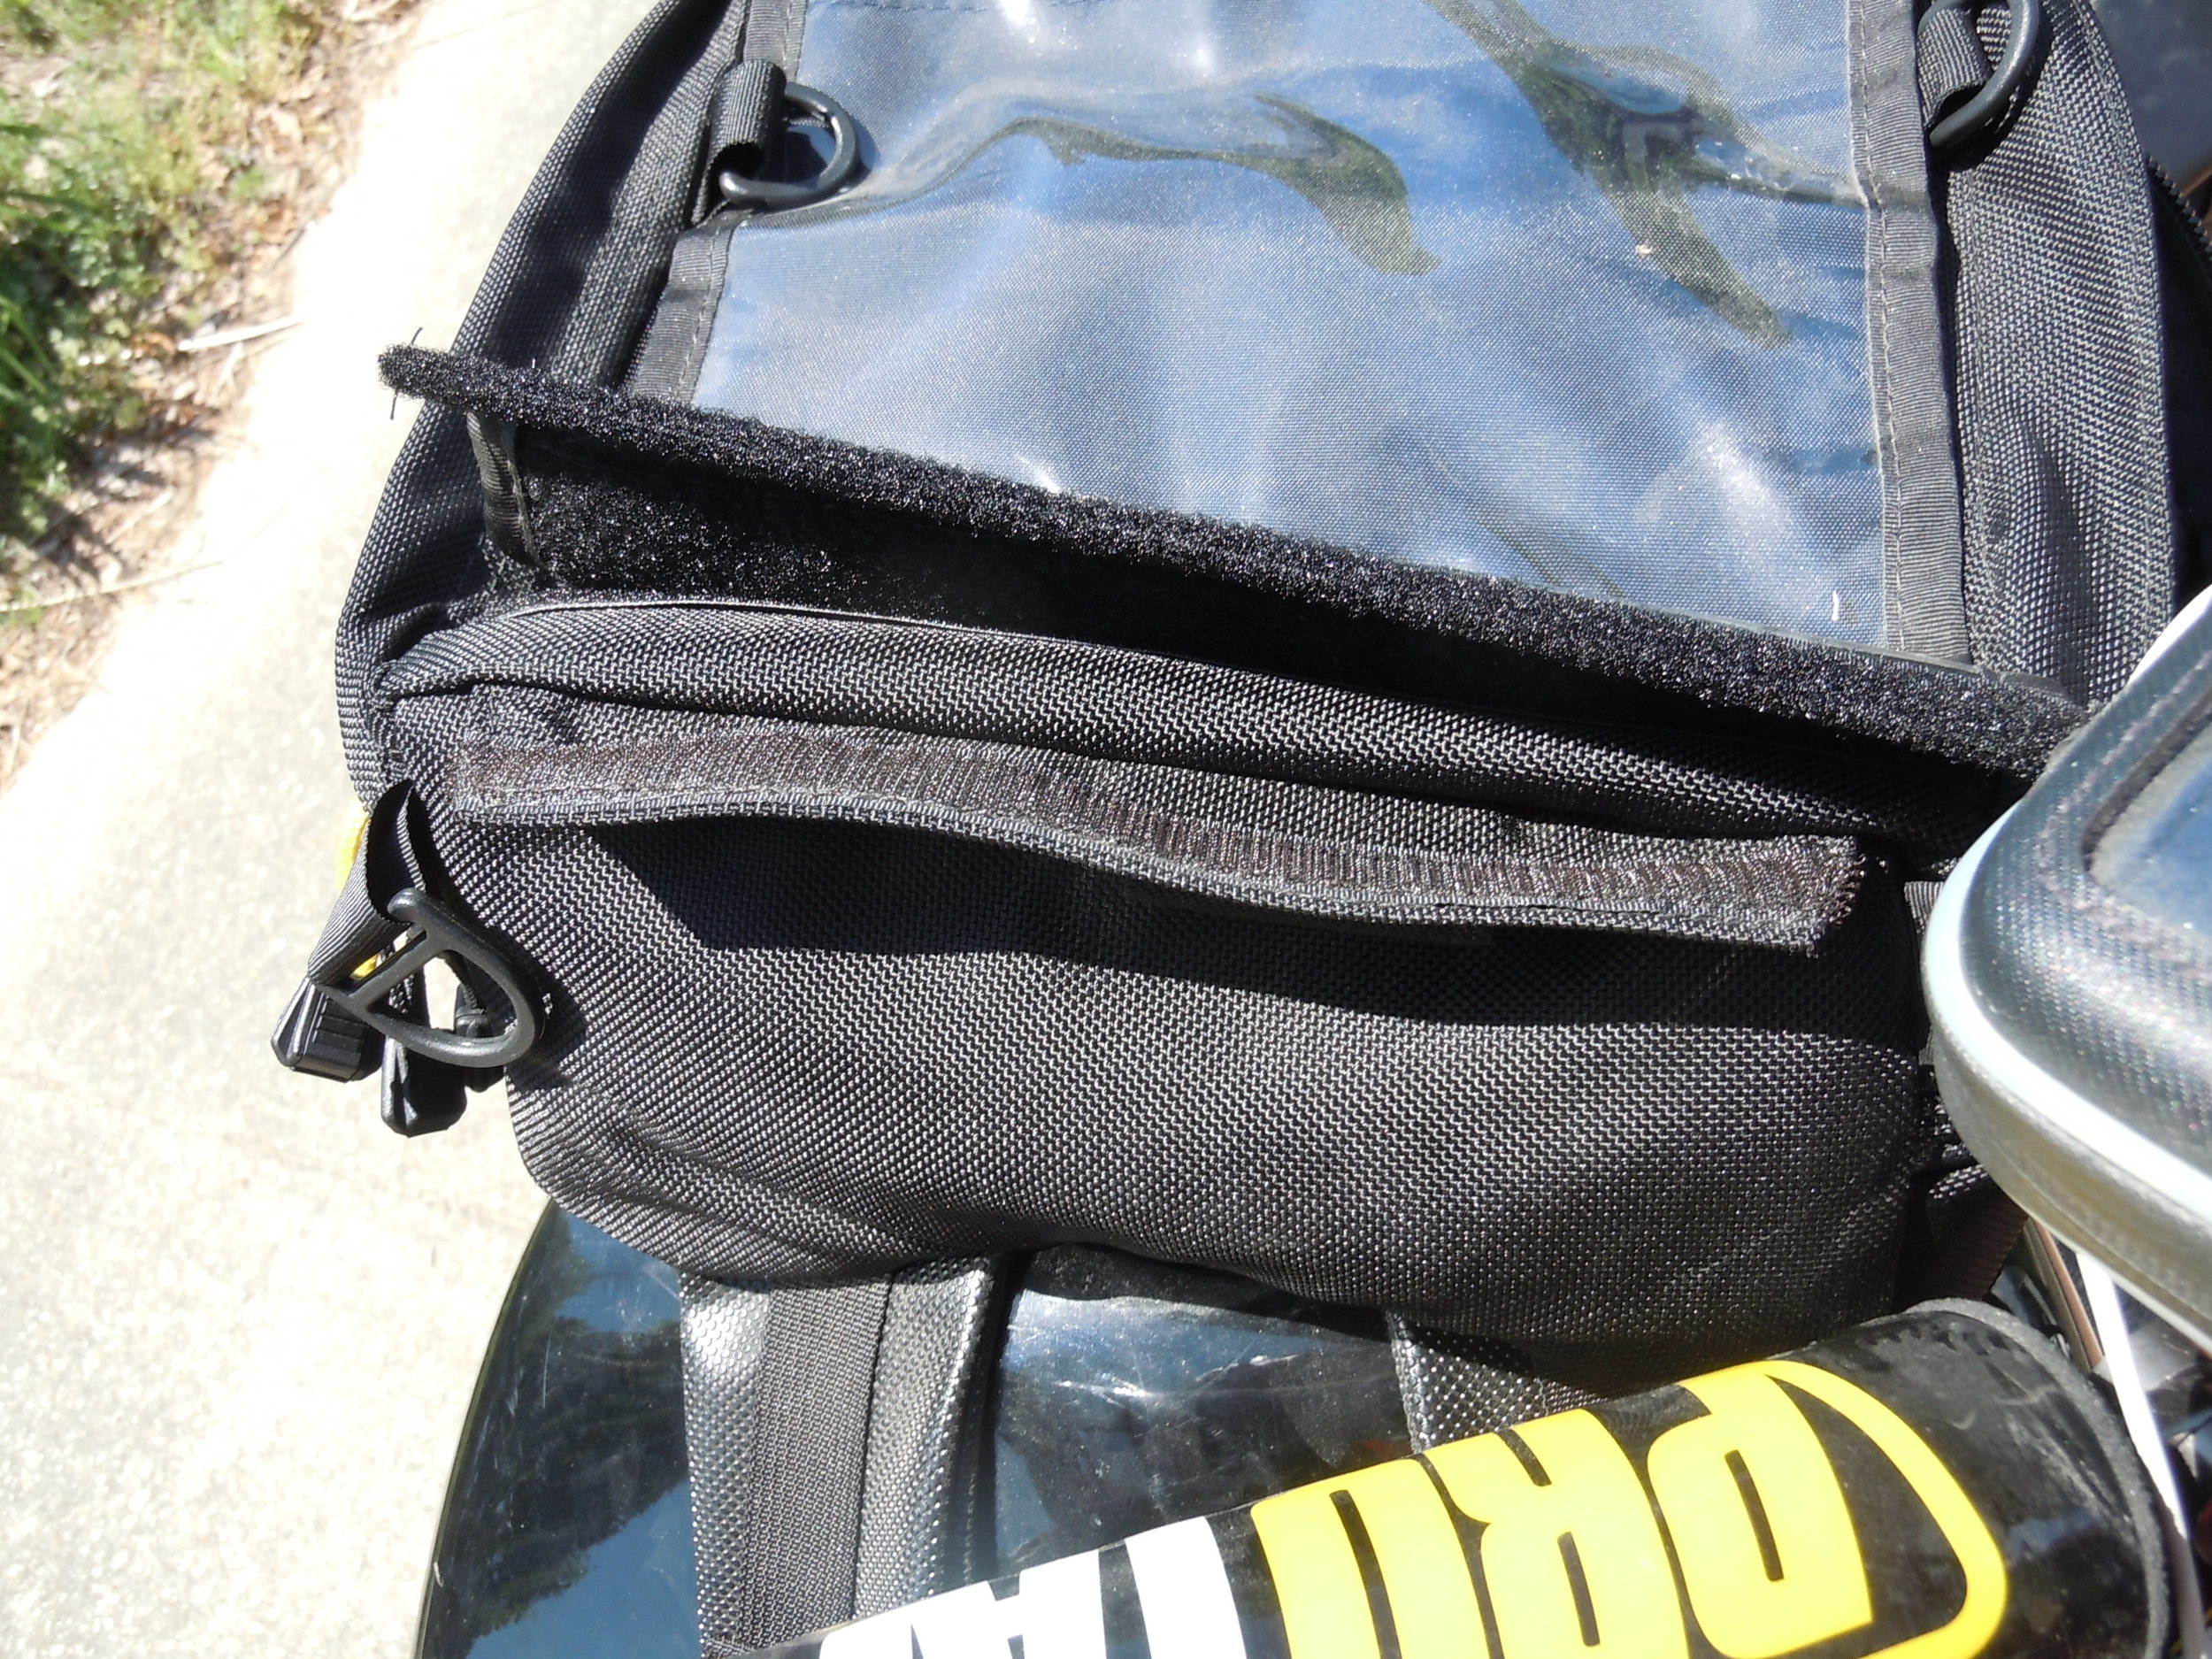
The map pocket on the top has a visible window of 7.6” x 9” and it has a double velcro closure. On the bottom you will find a rubberized non-slip and non-scratch material that goes against the tank when it is installed. On the inside of the lid there is a mesh pocket with a key clip.
The front of the bag includes a pocket with a zipper and there are four plastic D-Rings on the top of the bag and 2 on the front side. These could be used as tie down points if you needed to.
Wolfman offers a rain cover for the bag, but it is not included in the price. If you want a rain cover don't forget to add it to your order.
Installation
The procedure to install and mount the Explorer Lite tank bag was pretty straight forward. The mount harness consists of 4 straps with a plastic rectangular ring on each end and a smaller piece of webbing that goes across the straps to keep them together.
First you have to find 4 mount points that you can get the straps around. Once you work the straps around the mount point you take the end back through the plastic rectangle rings to form the mounting loop. Next, you thread the cross webbing back on the mounting straps and then thread the plastic clips on to the loose ends. After you do that for front and back you can place the tank bag where you want it to sit and clip it in. The last step is to adjust the straps so it can be held firmly in place. Overall, the process to get the bag installed was pretty easy on the KLR and once the straps and cinched down it does not move.
Size and Use
When I was shopping for a tank bag I wanted something big enough to carry the items I routinely need access to during a ride. Things like gloves, goggles, lens cleaner, water bottle, camera, etc.
However, I did not want a bag so big that it impeded my riding while offroad and a bag that still allowed my bars to move lock to lock.
With the Explorer Lite bag I was able to pack my routine items in that bag with plenty of room to spare. I tried packing some of my smaller items in the front zippered pocket, but I found that it was in my way when I have to stand up and ride offroad. I moved those items into the main compartment and that helped.
The other thing I noticed was not a Wolfman issue, but an issue with the tank design of the KLR. Since the tank is so sloped all the smaller items tend to fall down into the front of the bag and you have to dig for items you are looking for. The bag itself fits the sloped tank very well.
When it comes to getting gas you need to unclip the front clips and then the bag will slip back to the seat with no problems. I found it to be easiest and fastest to loosen the front clips a little bit when putting the bag back in place. Then you can tighten it back to where it was.
What Could Be Improved
My very first idea for an improvement on design was a movable divider inside the main compartment. Just a small piece that could be held in place by velcro. That way you could prevent your smaller items from falling down into the bottom with a sloped tank and if you need to carry something larger it would be easy to take out or lay down.
I think the mounting harness could be improved by building it separate from the bag itself. For example, you install the harness and get it set how you need it. Then you can attach the bag to the harness with side clips or a zipper. I would like to see the bag separate because it would make gas fills easier and I could remove the bag from the bike without dangling mounting straps. By purchasing additional mount kits I could also easily move it between bikes with very little effort.
Final Opinion
The Explorer Lite tank bag is priced on the high side. The bag will run you $143.99 and the rain cover is an additional $22.49. However, the build quality is excellent and I like knowing that I am supporting a company that produces their products in the USA. Wolfman, as a company, has a passion for riding and it shows in their products. I think it is important to support companies like Wolfman.
In the future, I will probably get a slightly smaller bag like the Wolfman Enduro tank bag for my shorter rides. I am only 5’10” tall. When I stand, the bag is just big enough to keep me from weighting the front wheel and leaning as far forward as I would like. For longer trips, or rides that are primarily pavement the larger capacity of the Explorer Lite bag will be prefect for me.
Overall, the Explorer Lite tank bag is an excellent option for a tank bag and I really like the fact that it is designed for the sloped tank of my KLR.
Thanks for reading. If you have any questions or would like to know anything I may have forgotten to mention please feel free to leave a comment and I will respond as quickly as possible. The opinions in this review are my own. If you found this review helpful, please consider supporting our sponsors with future purchases.

